


A Scrumptious Sourdough Recipe to Try at Home
Along with banana bread and homemade pasta, sourdough dominated lockdown, with people all around the country sharing their attempts at making the challenging bread. Although September has almost come to an end, we couldn’t leave this month (a.k.a. Sourdough September) without paying homage to the trendy treat, so here’s a scrumptious sourdough recipe to try at home.
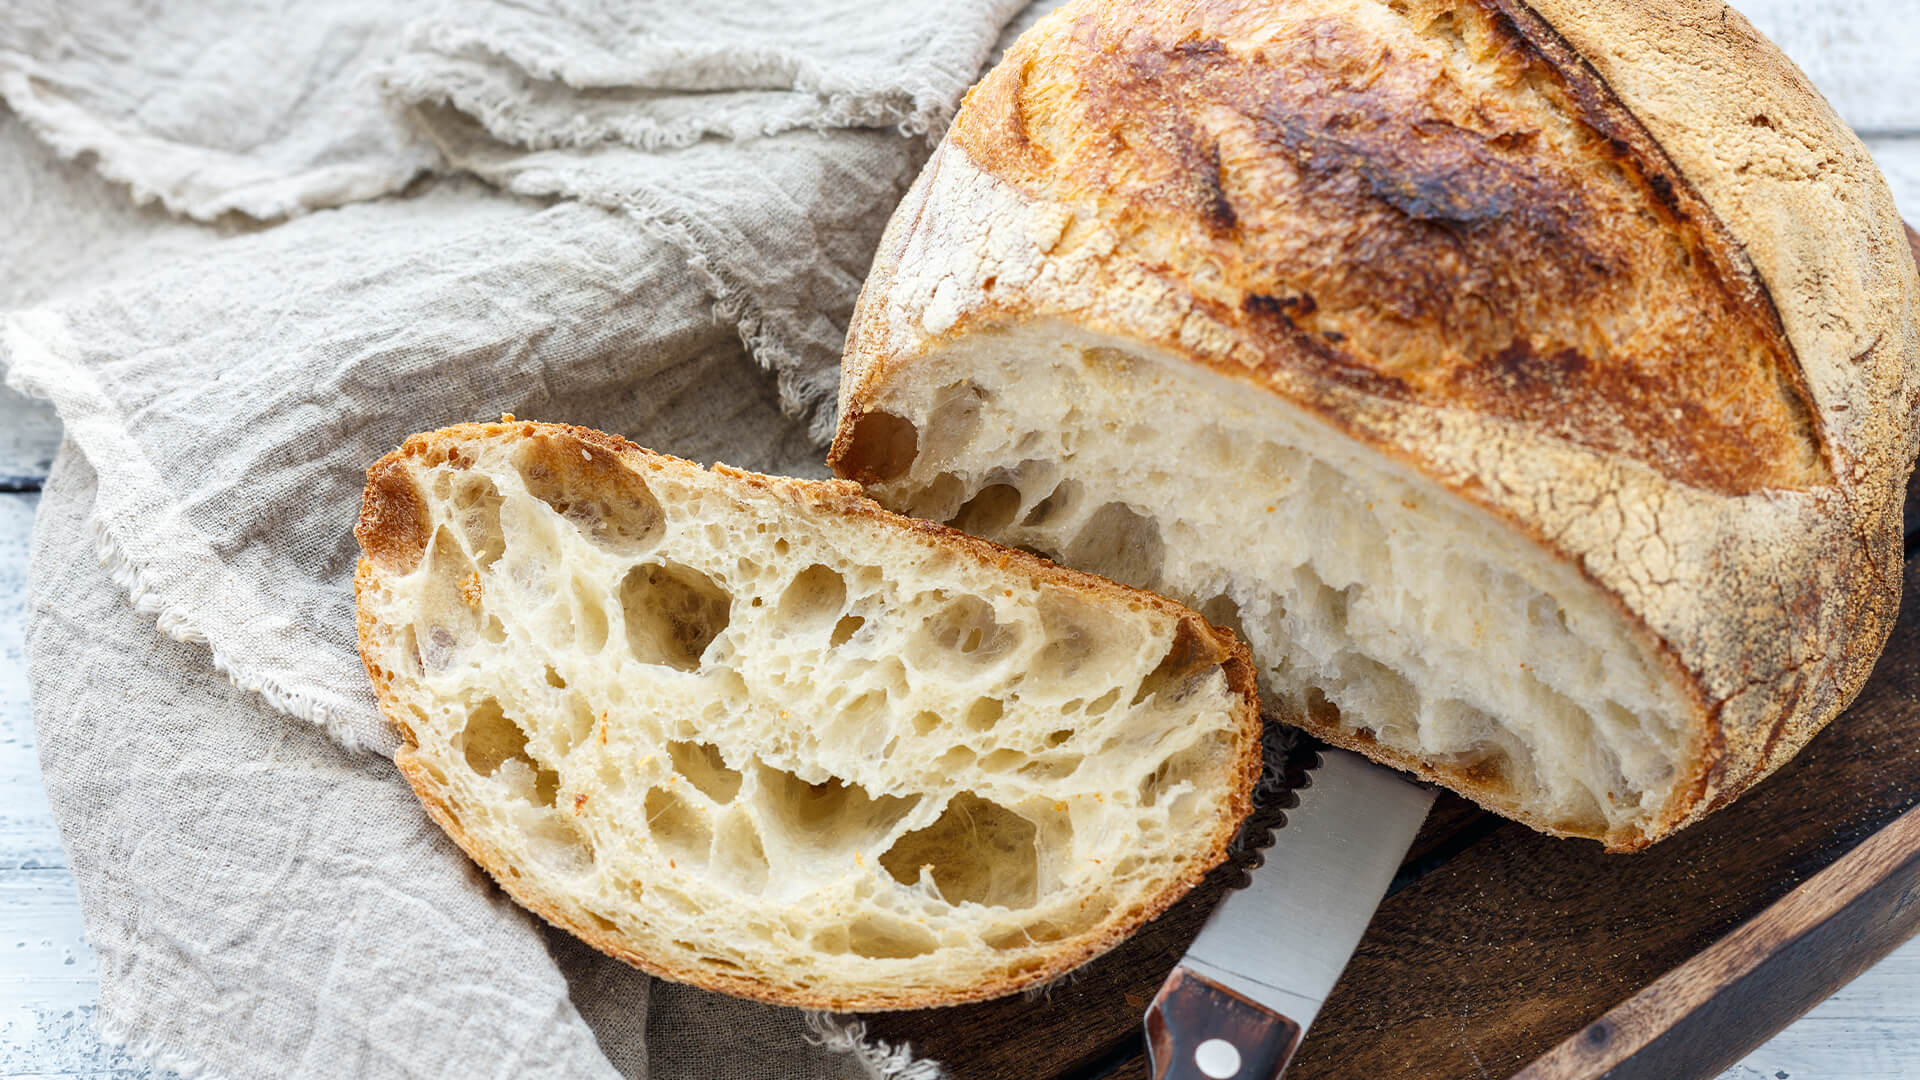
French Dark Sourdough
A recipe from GAIL’s Bakery, this is a wheaten sourdough which is both light and wholesome.
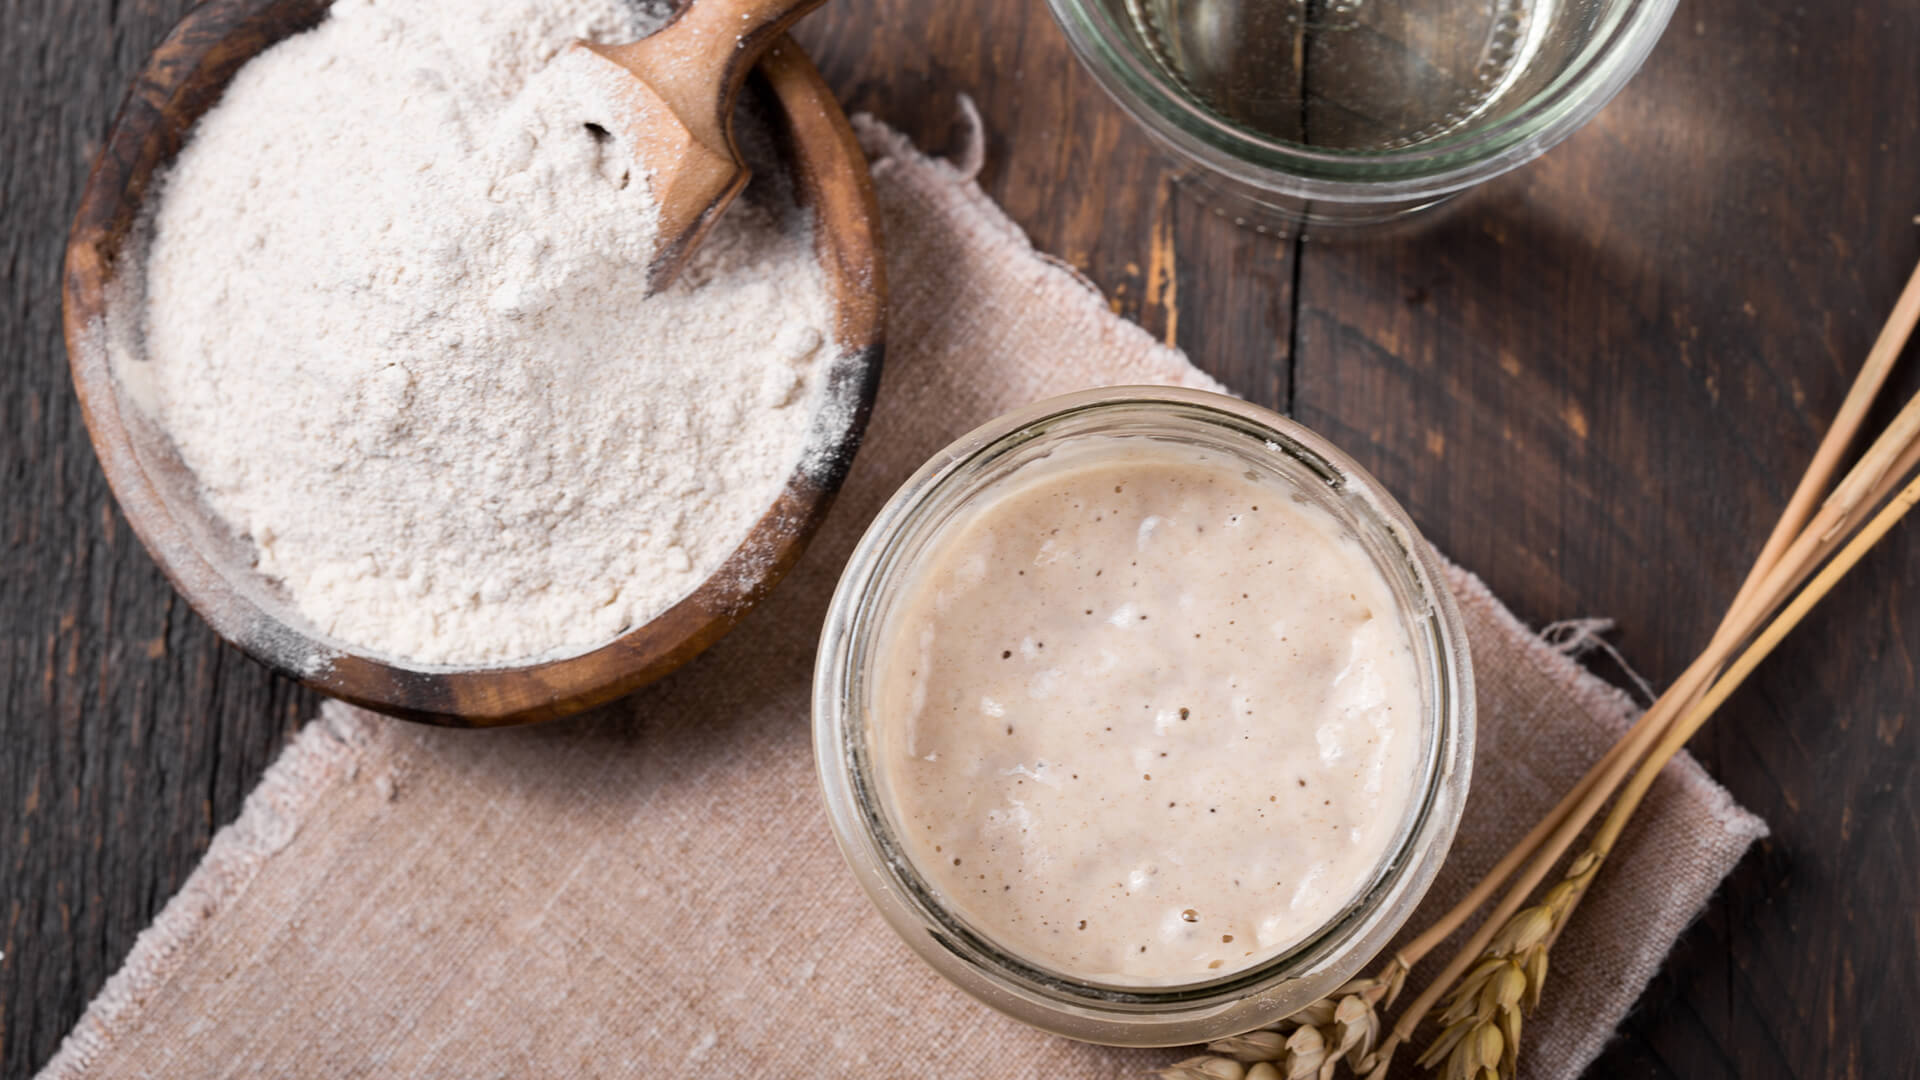
Firstly with sourdough, you have to make the most challenging part, the starter. Here’s the recipe for the starter first:
INGREDIENTS:
- 120g strong wholemeal flour
- 20g strong white bread flour
- 120ml water, at room temperature
For feeding over 10 days:
- 10 x 70g strong wholemeal flour
- 10 x 20g strong white bread flour
- 10 x 75ml water at room temperature
METHOD:
- Mix the first day’s ingredients in a clean small bowl with a fork until you have a solid, stodgy batter. Pour the starter into a clean plastic container at least four times its volume and cover it loosely with a lid so it still lets in a little air. Put the starter in a cool room – but not in the fridge, or cupboard.
- After one day, feed the starter for the first time. Weigh out 150g of the starter and discard the rest. Feed the remainder with the 70g of wholemeal flour, 20g of strong white flour and 75ml water. Put back in its container and cover it loosely. Leave it to rest for another day.
- Repeat each day, for 10 days. It will take between 7–10 days for your mixture to grow into a vigorous sourdough starter. It should bubble gently more and more with every passing day, and the smell should be fresh and yeasty, with a hint of alcohol. If the scent is unpleasant, with sour, vinegary notes, throw it away and start again – unfortunately, this is a sign that the wrong bacteria have colonised it.
- After 10 days, you’re ready to make the sourdough loaf. Weigh out your 150g to keep feeding as a starter and, instead of discarding it, use the rest to bake sourdough bread.
THE BREAD INGREDIENTS:
(Makes two 500g loaves).
- 440g strong wholemeal flour
- 50g strong white flour
- 2 1⁄2 tsp fine sea salt
- 350ml ice-cold water
- 150g sourdough starter – full recipe here
- Whole tray of ice cubes
METHOD:
- Combine the flours in a mixing bowl with the salt. Add the ice-cold water and knead slowly for 10 minutes. Now add the starter and continue to knead for 5 minutes. If you have a stand mixer and dough hook, increase the speed to medium-high and knead for another 6 minutes at this point. If not, knead until the dough is fairly firm and still cool to the touch.
- Let the dough rest for 1 1⁄2 hours at room temperature in a bowl covered with a damp clean tea towel.
- Knock it back with your hand to let out all the air that will have built up inside during this time and then cover the bowl with the cloth and rest it again for another 1 1⁄2 hours before punching the air out of it again.
- To shape your loaves, cut the dough in half on a floured surface. Shape each piece in turn, pressing it down with your fingers to form a rough, plump disc. Pull the edges into the centre of the disc, piece by piece, then turn the dough over. You should have created a tight, neat ball of dough with a tense surface. Repeat with the second portion of dough.
- Rest the dough again. Line a baking sheet with non-stick baking paper and dust it generously with flour. Carefully place the loaves onto this, spaced well apart to allow room for them to rise. Dust a little more flour and place a sheet of baking paper on top. Place the whole thing in a plastic bag roomy enough to cover them loosely. Inflate the bag so that it won’t come into contact with the dough.
- Place on the warmest shelf in the fridge (usually at the top), and leave to rest for 8–10 hours, or overnight. Slow, cold fermentation is crucial to developing the full flavour and fragrance of a well-made loaf.

- When fermented, remove from the fridge and place the dough – still wrapped – on the worktop, well away from any draughts. This next stage is all about gentle warmth and bringing the dough up to room temperature (around 20°C). Once it reaches room temperature the dough will become active and you should check in on it every 30 minutes to see how it’s doing until doubled in bulk. Poke the dough with your finger: it should feel like a slightly deflated balloon but should spring back easily.
- Preheat the oven to its highest setting, then place a baking stone or baking tray on the middle shelf to heat up. Place a small baking tin on the oven floor to act as a water vessel and let this heat up as well.
- Uncover the loaves and let them breathe while the oven is heating. When ready to bake, take a razorsharp knife, angle it at 45° to the dough and score four long incisions around 1cm deep in a square on the top of the loaf. As well as helping to create a beautiful loaf, these cuts allow the bread to expand evenly as it bakes.
- To bake the bread, carefully pull the oven rack with the hot baking sheet or stone halfway out of the oven. Working as quickly as you can, gently slide the loaves onto the hot surface, spaced apart but close to the centre, and push the rack back into the oven. Tip all the ice cubes into the tin at the bottom of the oven and close the oven as swiftly as possible. The cloud of steam that develops inside the oven stops the crust from seizing up as the dough hits the heat, allowing the bread to expand and develop. It will also help to give you a crisp, shiny crust. After 10 minutes, reduce the heat to 200°C/gas mark 6 for a further 30 minutes.
- When the bread is fully baked, turn off the oven, open the oven door slightly and leave the bread in the oven for a further 5 minutes to let off some steam – quite literally. Transfer to a wire rack to cool.
- This cooling down period is a crucial part of the baking process, and can’t be rushed, no matter how impatient you are to taste your bread. Leave the bread for at least an hour before you slice it and dig in.
Enjoy!