


- Searches for ‘how to make the best coffee at home’ have seen a +50% increase in the past 12 months
- Experts at Wren Kitchens have teamed up with Michael Le Bourgeois at Bad and Boojie Coffee to share insider tips such as how to froth the milk for coffee art
Having a barista-style coffee at home is a dream, but purchasing one everyday can be expensive. If you’re used to a creamy, milky coffee, then an instant one at home just won’t be cut it.
With searches for ‘how to make the perfect coffee at home’ seeing a 50% increase in the past 12 months1, it’s clear that people are looking to make coffee shop style beverages at home, especially with the price of shop-bought coffees.
Making the perfect brew relies on different factors such as the quality of the coffee beans, the brewing method chosen, and water temperature. Experts at Wren Kitchens have teamed up with Michael Le Bourgeois at Bad and Boojie Coffee2 to share the secrets to making the barista-style coffee, whether you have a coffee machine or not.
1. Choose high quality beans
Choosing the right beans can have a huge impact on the quality of your coffee. Whether you prefer light, medium or dark roast, always opt for high-quality, freshly roasted beans from a reputable source for that premium taste found in coffee shops.
2. Match your grind size to the brewing method
There are many different brewing options to choose from. From the classic espresso machine, drip coffee maker, French press to pour-over and AeroPress – choose what suits your taste preferences best.
To achieve the perfect coffee, make sure that the grind size matches your brewing method. For example, use a medium-coarse grind for French press, medium for drip coffee makers, and fine for espresso.
3. Look at your water quality
Water quality significantly affects the taste of your coffee, so use fresh and filtered water instead of tap water.
Heating water to the appropriate temperature is also extremely important. Avoid using boiling water, as it can scorch the coffee and result in a bitter taste. For most methods, a temperature between 90-96°C is ideal.
4. Measuring ratio
Your measuring ratio can have a huge impact on the taste of your coffee. A standard ratio is 1 to 2 tablespoons of coffee grounds for every 6 ounces of water – and you can always adjust this based on your taste preferences.
5. Brewing method tips
The pour over brewing method is the oldest, simplest and cheapest way to make barista style coffee:
- Wet the paper filter with hot water to remove any paper taste.
- Preheat the pour over cone and vessel by adding boiling water and letting it sit for a few minutes.
- Once you add coffee grounds into the pre-wet filter inside the pour over cone, gently shake the cone to level the coffee grounds.
- Evenly pour hot water in a circular motion allowing the coffee to bloom for 30 seconds to release trapped gasses. Make sure to use a timer for precision.
- Continue pouring the water in a slow, steady stream, working from the centre to the outer edges.
- After pouring all the water, you can give the coffee a gentle stir or swirl to ensure even extraction. And allow the coffee to drip through the filter until it’s finished brewing.
Once the brewing process is complete, pour your coffee into a preheated cup. Preheating can be done by pouring boiling water into your cup, letting it sit for a few minutes, and removing the water before pouring the coffee.
Take a moment to savour the aroma and flavours. If desired, add milk, cream, or sweetener to taste.
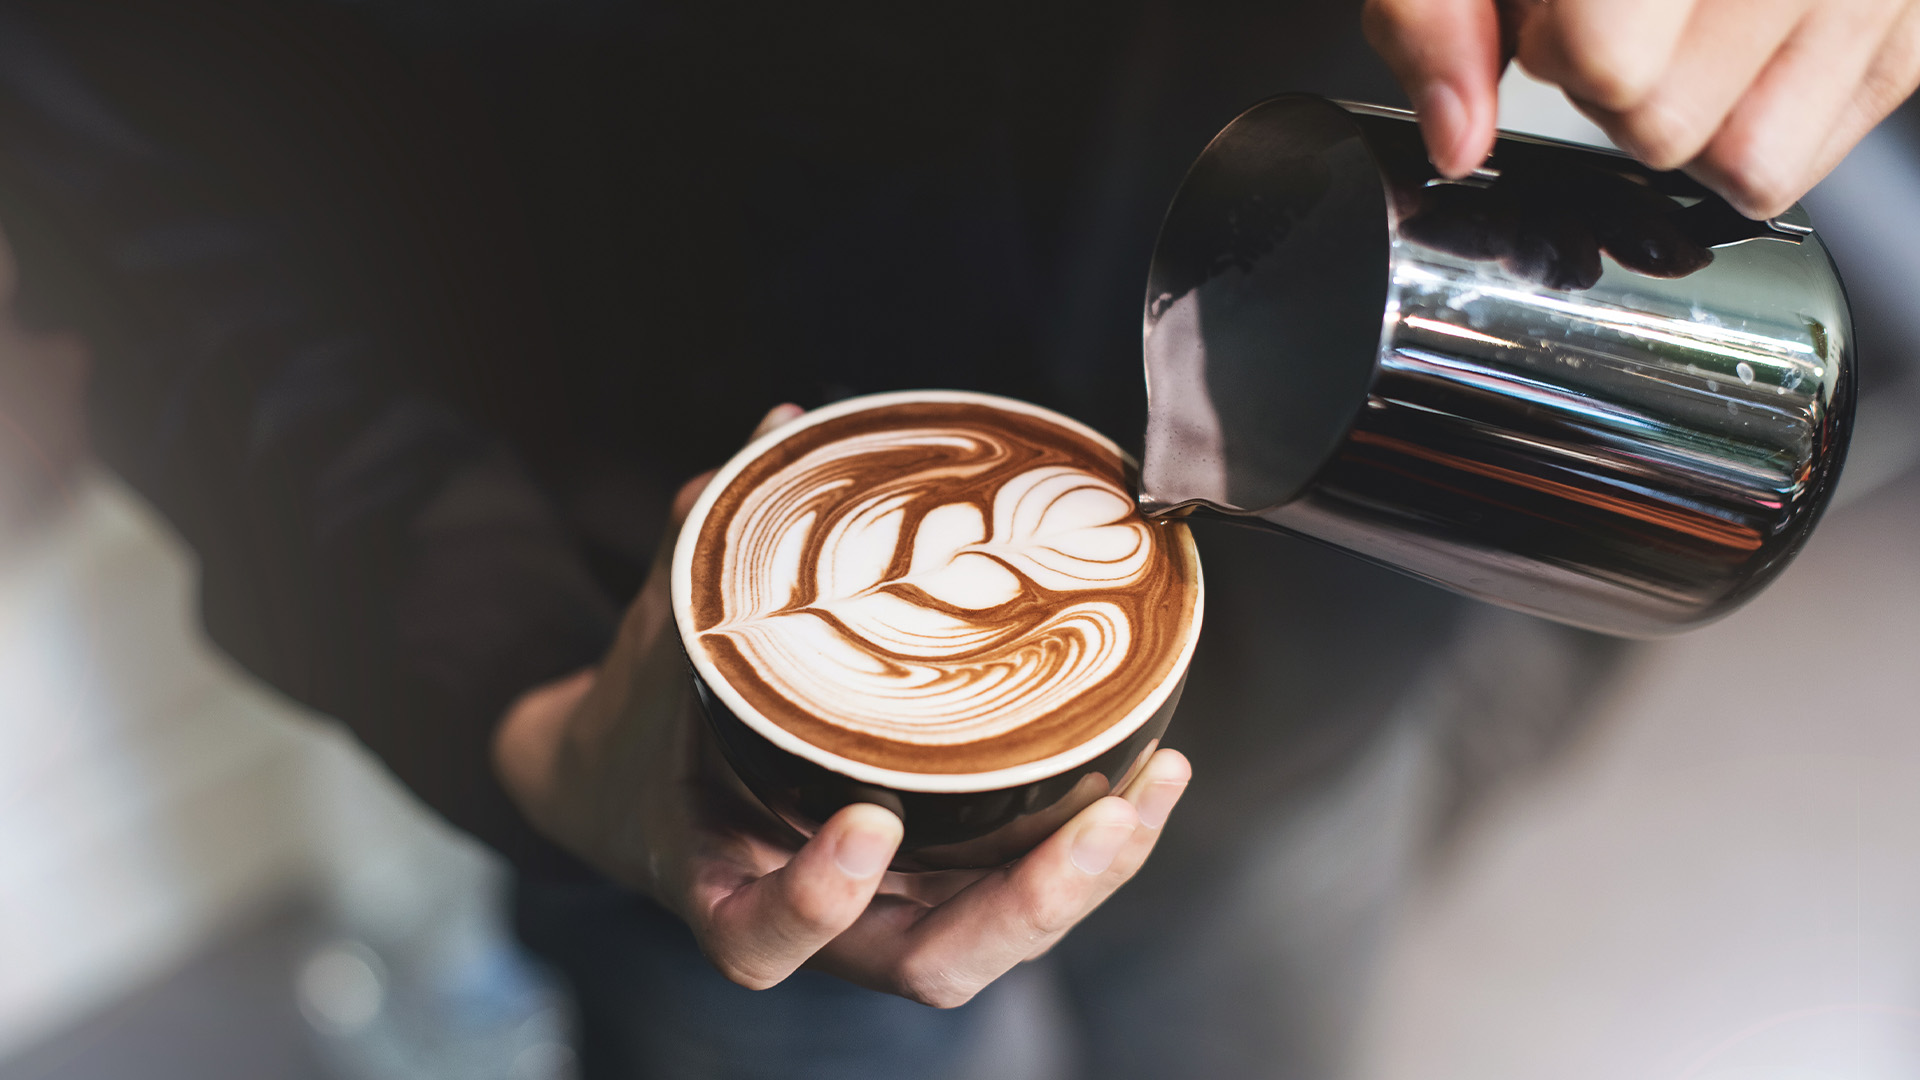
Michael shares how to froth the milk for latte art:
“Texturing milk includes aerating the milk to its desired froth level before bringing it to the right temperature (60 to 65°c). As a simple rule, the more air you add to the milk, the more froth you build. You need to do this while the milk is cold in order to stretch the proteins, which helps build silky smooth foam.
Firstly, purge your steam wand to clear any residue. Position the jug at an angle to help the milk spin. Make sure the tip of the steam wand is about half a centimetre below the surface of the milk. This will ensure you start adding air as soon as you turn on the steam.
Once the steamer is on, allow the milk to aerate. You should hear a hissing sound. This is a sign that air is building into the milk to create froth. The longer you leave the steam wand in the milk, the more froth you will get.”
Mike further comments, “What you don’t want to hear, however, is that screeching sound. Once you’ve achieved the right level of froth, raise the jug slightly so the steam wand sinks deeper below the surface, which will stop the sound. The aim is to create a Vortex within your milk jug which will create the silky smooth textured milk ready for your coffee art.
Always wipe the steam wand after texturing and purge to clear any leftover milk. To finish, tap and swirl the jug to remove any large air bubbles to achieve a silky-smooth consistency.”
Darren Watts, Showroom Development and Design Director at Wren Kitchens says: “The perfect coffee is subjective and depends on your personal preferences, so feel free to experiment with different beans, grind sizes, ratios, and brewing methods until you find what suits you best.”